Calligraphy pens fall into three main categories: broad-edge pens, pointed pens, and brush pens. If you are standing in a stationery aisle or scrolling through pages of options online, that simple fact already cuts the confusion in half. The short answer for calligraphy beginners is: one pointed-pen or broad edge setup under thirty dollars, plus a small brush pen for warm-up days. My own starter collection is a Pilot Parallel, a Tombow Fudenosuke, and a straight nib holder loaded with a Nikko G nib.
I should say who I am. I scan old deeds written in brown ink at a land titles office in Winnipeg. Three years ago a coworker handed me a traditional dip pen so I could copy one beautiful signature from an 1890s mortgage document, and I have practiced most evenings since, at my kitchen table. These are hobbyist recommendations, not a professional shop’s, and I have bought a lot of the wrong things along the way.
Types of Calligraphy Pens
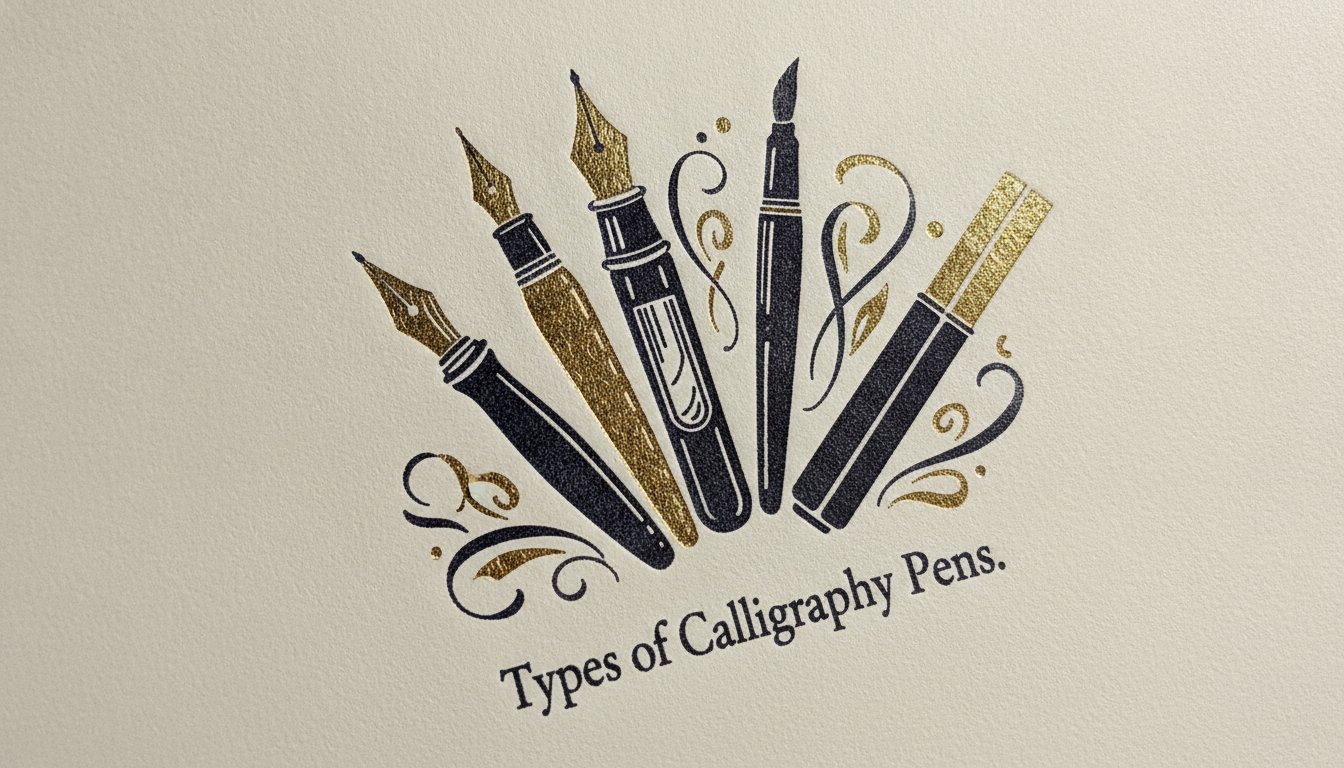
“Calligraphy pens” is an umbrella term covering tools that work in very different ways. Broad-edge pens, pointed nibs, and brush pens each produce distinct stroke patterns, and different calligraphy styles require specific tips and pen types for best results. Matching your pen to the script family you want to learn, whether that is italic, blackletter, copperplate, or modern brush lettering, saves money and frustration. Trying one tool from each family cheaply is the best way to find out which style you actually enjoy before spending real money.
Broad-edge (chisel-tip) calligraphy pens
A broad edge pen has a flat, chisel-shaped tip. Broad-edge pens create thick or thin strokes based on direction: the contrast comes from the angle you hold the pen at, not from pressure. Typical formats include cartridge fountain pens like the Pilot Parallel or Lamy Joy, disposable markers such as Zig calligraphy markers, and dip pen nibs like the Speedball C-series.
These tools are suitable for italic, blackletter, Foundational, Uncial, and Roman capitals. Pros: you see thick-and-thin contrast immediately, they are more forgiving for beginners, and they reward a steady hand and a consistent angle over delicate pressure control. Cons: they need smoother paper, cartridge pens can be harder to clean than markers, and the largest nib sizes need large paper to accommodate the letter scale.
Pointed nib (dip and fountain) calligraphy pens
A pointed nib pen is a metal nib that comes to a sharp point and spreads under pressure, usually held in a straight or oblique holder. Pressure spreads the tines for a thick line, and releasing it brings back a hairline. Calligraphy emphasizes thick downstrokes and thin upstrokes, and pointed pens are the tools built for exactly that effect. Dip pens use interchangeable steel nibs dipped in ink, and their history stretches back centuries. Pointed pens are ideal for copperplate and Spencerian styles, as well as modern pointed pen calligraphy, ornamental flourishing, and envelope addressing. For more on where the design came from, read the Wikipedia page on dip pens.
There is an important distinction between classic dip pen nibs like the Nikko G or Hunt 101 and modern flex fountain pens that imitate them. Dip pens require re-dipping every few words, which slows you down but also forces you to pause and check your work. Pros: very expressive lines, excellent for romantic scripts and wedding envelopes, works with many bottled inks. Cons: steeper learning curve, nib prep and cleaning required, sensitive to paper quality and pressure control. This is the style that looks like the old manuscript documents I scan, and the one I fell for, but your first week will probably involve a lot of blotting.
Brush pens and brush-style calligraphy pens
Brush pens have flexible felt or bristle tips that act like a tiny paintbrush. They come in water-based and pigment inks, already filled so there is nothing to dip or mix. Brush pens flex like a paintbrush for modern lettering. Common examples beginners recognize include the Tombow Dual Brush Pen (great for brush lettering), the Pentel Fude Touch, Sakura Pigma Brush, and small-tip fude pens. Fude pens have a bent tip that alters line width, which some artists find intuitive.
Best for: modern brush lettering, large bouncy quotes, bullet journal headings, casual practice on sketchbooks. Pros: portable, no bottled ink required, work on many papers, excellent for people who already enjoy drawing, sketching, or journaling. Cons: tips wear out, control of pressure can be tricky, not ideal for very formal traditional scripts. My personal mistake: I started with a large, floppy brush pen and my letters looked like they had been written on a boat. Beginner calligraphy pens include felt-tip markers and small brush pens, and the small ones are far more forgiving.
What to Look For in a Calligraphy Pen
Beyond pen “type,” a few practical features make a huge difference in how your first sessions feel: nib size, flexibility, ink system, and comfort. Choosing a calligraphy pen depends on the desired style and experience level, but these three attributes help you compare tools within any category.
Nib size and shape
Nib size controls the scale of your letters and how much detail you can manage as a beginner. For broad-edge practice on A4 or letter paper, I recommend the 1.5 to 2.4 mm range. A 1.5 mm nib is a comfortable size for practice, and a 2.4 mm Pilot Parallel is my pick for a first broad edge pen. For brush lettering, small fude tips keep strokes manageable. For copperplate, a medium-flex pointed nib gives contrast without overwhelming you.
Avoid starting with the very smallest or extra fine nibs, which punish wobbles and paper texture. Getting letter size right matters more than most beginners realize: measuring letters against nib width or guide lines has helped my lettering more than any new pen ever did. Practice with guidelines and spacing improves calligraphy techniques steadily.
Flex and feedback
Flex describes how easily the tip spreads or bends to create thick downstrokes. For pointed and brush pens, moderate flex that requires some deliberate pressure is better than ultra-soft nibs that catch on paper or splay unpredictably. A flexible nib is wonderful once you have control, but too much flex too soon leads to frustration.
“Feedback” is the scratchiness or smoothness you feel as the nib moves. A bit of feedback helps new calligraphers control their strokes because you can sense when the angle or pressure shifts. Concrete gentle examples: the Nikko G or Zebra G dip pen nibs are firm enough not to feel breakable, and the Tombow Fudenosuke hard tip is one of the best brush pens for beginners. I recommend it over the bouncier soft tip until your hand is steady.
Ink system, maintenance, and mess factor
Three systems to compare: cartridge or converter fountain pens, disposable markers, and traditional dip pens with bottled ink. The easiest to start with at a kitchen table are water-based markers and cartridge pens that can be rinsed in the sink. Ink cartridges and refills keep things simple. Dip pens and bottled inks offer the most flexibility and cheapest long-term cost, but need careful cleanup and a safe space for spills.
One thing to watch: inks behave differently with different pens. Some are too thick, some too watery, and some are not meant for fountain-style pens at all. Check compatibility before buying a bottle of ink for a particular pen. Fancy ink in every ink color early on is a waste. Simple maintenance routines matter too: use a soft cloth to wipe nibs between ink refills, clean dip nibs immediately after each session to prevent corrosion, and cap brush pens firmly so tips do not dry out. If you want a fuller guide, see my notes on choosing the right ink. For a shortlist of inks that suit beginners, check my guide to calligraphy inks.
How to Choose the Right Calligraphy Pen for You
You do not need an expensive collection of calligraphy tools and supplies to begin. One well-chosen pen is enough. Here are three criteria that matter:
-
The script style you want to learn first: Italic or blackletter points you toward broad-edge pens. Copperplate or Spencerian points you toward pointed nibs and pen holders, possibly an oblique holder. Bouncy modern lettering points you toward brush pens. Calligraphy requires matching the pen to the project’s style and surface. Pick just one style for the first month. My rule of thumb: want instant results, go brush pen; like structure and rules, go Pilot Parallel; love old handwriting, go pointed pen and accept a slower start.
-
Where and how you plan to practice: Kitchen-table practice with kids, pets, or a shared space nearby favors sealed brush pens or cartridge pens. A dedicated desk can handle ink wells, a bottle of ink, a nib holder, and other tools spread out.
-
Your budget and tolerance for setup: A single pen under fifteen dollars, whether a chisel marker or hard-tip brush pen, can start you tonight. A basic dip pen starter kit with a holder, nibs, and ink may cost about the same but involves nib prep and cleanup each session. I would not buy all three styles on day one. Pick one, give it two weeks of short sessions, then decide whether to add another.
Beginner-friendly Calligraphy Pen Paths
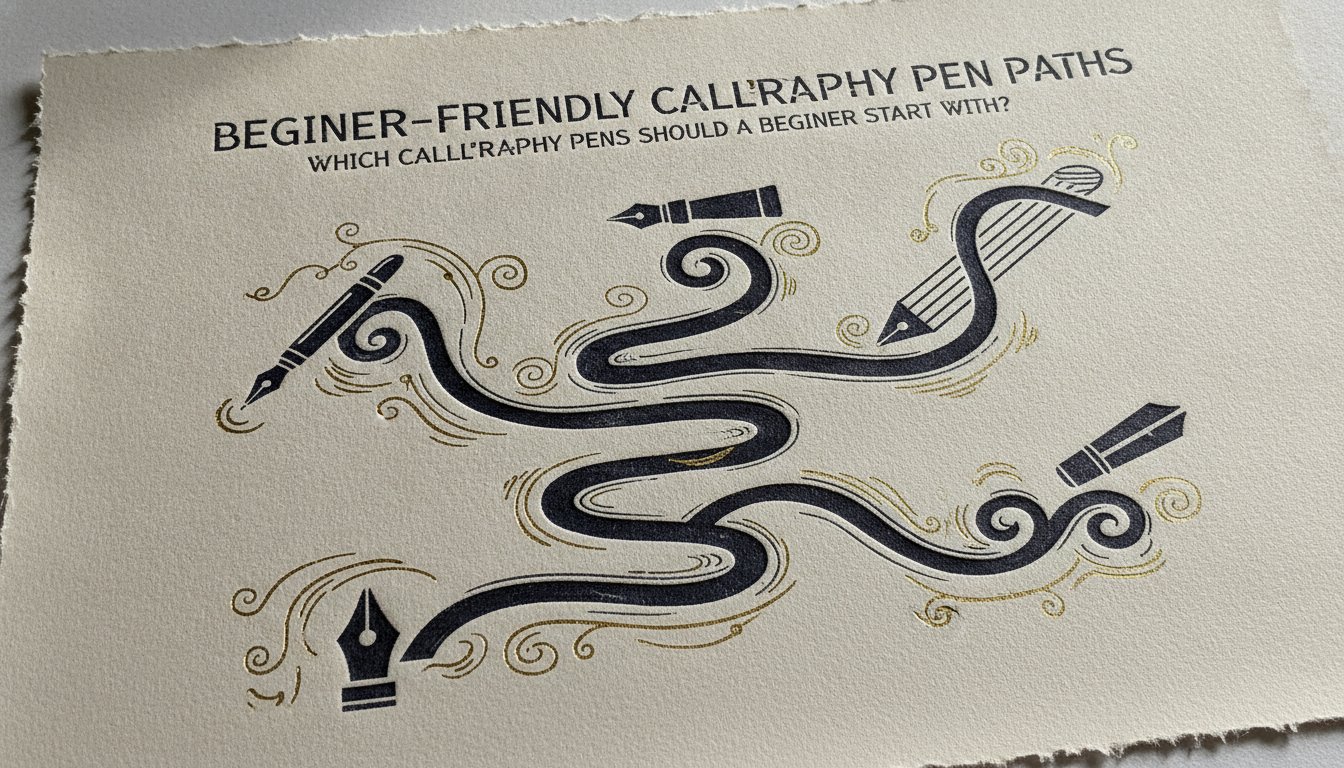
Instead of only naming products, here are three realistic paths a new calligrapher can take, each using commonly available pens. This is based on my own experiments in Winnipeg and what I wish I had done in my first three months. A whole starter set covering a brush pen, a Pilot Parallel, a holder with a few nibs, ink, and smooth paper costs about one nice dinner out and keeps you busy for months.
Path 1: Start broad-edge for clear letter structure
Pick one inexpensive chisel-tip marker or an entry-level broad-edge fountain pen. The Pilot Parallel Pen is ideal for beginners and broad-edge pens like Lamy Joy are forgiving for beginners too. Pair it with paper that will not feather badly. This path helps learners see angles and proportions clearly, which later makes pointed pen work easier. Spend the first weeks on basic strokes, then italic lowercase, then simple blackletter capitals.
Path 2: Start pointed pen for Copperplate and modern calligraphy
Outline a beginner dip pen kit: a straight or oblique holder (a cheap one is fine), two or three Nikko G or Zebra G nibs (spares tell you whether a problem is the nib or you), a small bottle of smooth ink, and a pad of smooth paper. You will need to learn nib prep, gentle pressure control, and cleaning the nib after short sessions. I wasted a whole evening thinking I was just bad at copperplate when the nib only needed a wash with dish soap to remove factory oil. Focus on drills: ovals, underturns, overturns, and simple words before jumping to flourished envelopes. Pressing too hard just spreads the tines, catches the paper, and spatters ink.
Path 3: Start brush lettering for flexible, informal practice
One small-tip hard brush pen for control practice, plus perhaps a larger brush pen for big quotes. This path works well for people who already doodle in journals and want pretty headings or inspirational phrases. Calligraphy uses continuous strokes for letters and words, while hand lettering treats each letter as a separate illustration, and brush pens are popular for both calligraphy and hand lettering. Short practice blocks work best: five minutes of basic strokes, then a word or two in different styles, on any smooth notebook paper you already own.
Using Your Calligraphy Pens: Paper, Grip, and Maintenance
Even the best calligraphy pen will feel terrible on the wrong paper or if held like a regular ballpoint. A simple first week looks like this: days one and two, straight lines and ovals; days three and four, basic strokes; day five, a few simple lowercase letters like i, l, o, and n; days six and seven, short words compared to a model alphabet. Fifteen to twenty relaxed minutes a day beats a weekend binge. Once those letters feel steady, a guide to keeping letter heights even is the next thing to read.
Paper that keeps your calligraphy pens happy
Cheap fibrous paper makes ink bleed and feather, especially for broad-edge and pointed nibs. Using smooth, bleed-resistant paper is essential for preventing ink bleeding. Look for smooth laser printer paper for practice sheets, marker paper pads for brush pens, and layout paper for dip pens. Check for “suitable for fountain pens or markers” and test a scrap first. My first month of pointed pen on ordinary printer paper was a disaster, and switching to smooth, thick paper changed more than any pen did. The old deeds I scan at the land titles office are on rag paper that still looks crisp after a century, which shows why paper matters.
Holding and angling different calligraphy pens
Grip differs from everyday writing: a relaxed hand, the pen slightly more upright for brush pens, a lower angle for pointed nibs so the tines glide instead of scratching. For broad-edge pens, a consistent angle to the writing line makes thick and thin strokes predictable. Left handed calligraphers have good options: an underwriter grip, rotating the page, and left-oblique holders all help avoid smearing.
Cleaning and storing calligraphy pens
Simple routines protect your tools. Flush the nib with cool water until it runs clear. Let the nib air-dry before reassembling the pen. For fountain-style pens, flush with cool water periodically. Cap brush pens firmly after use. Common beginner mistakes I have made: soaking nibs too long, leaving pens inked for weeks, storing pens nib-down in a cup. Quick storage guidelines: keep away from heat, store fountain pens and brush pens horizontally or nib-up, and dry dip nibs thoroughly to avoid rust.
How to Explore Calligraphy Pens from Here
The best pen for you is the one that matches the style you are most excited about, bought at a price that does not sting if you change your mind in a month. Pick one style, choose one pen that suits it, and give yourself permission to be a beginner. Beautiful writing takes time and patience, not a bigger collection.
Once you have a basic pen in hand, explore Quiet Nib articles on nibs, inks, paper, and practice routines to deepen your skills. Treat calligraphy as a slow, enjoyable hobby rather than a race to master every pen on the market.
FAQ
These are questions I hear often from readers who email Quiet Nib or message me on social media. I have tried to keep the answers direct and tied to real beginner situations.
Which calligraphy pen should I buy first if I am on a tight budget?
Pick a single affordable pen matched to the script you are most excited about, rather than a big set you will not fully use. Two low-cost options: a chisel-tip marker or Pilot Parallel for broad-edge practice, or a single hard-tip brush pen for modern lettering. Both come ready to use, no separate holders, nibs, or ink required. Dip pen kits can be cost-effective long term, but only if you are ready for the extra learning curve.
Do I really need a special calligraphy pen, or can I use a regular ballpoint?
Standard ballpoints and gel pens cannot create the thick-and-thin strokes that define calligraphy. You can practice letter shapes with pencils or a fineliner, but that will not teach pressure control or nib angle, so treat it as a supplement and not a substitute.
Are fountain pens with italic nibs good for learning calligraphy?
There is a difference between “stub” or “italic” fountain nibs and traditional broad-edge calligraphy dip nibs. Italic fountain pens can be a comfortable gateway for everyday writing with calligraphic flavor, but they may not replace practice with a true broad-edge for formal scripts. Use them for daily journaling while reserving wider nibs and guidelines for serious calligraphy practice.
How long does it take to feel comfortable with a calligraphy pen?
From my own experience, the first few weeks feel awkward, but ten to fifteen minutes of practice most days for a month brings visible improvement. Broad-edge and brush pens may feel stable sooner, while pointed pen work can take several months of regular practice to feel natural. Small, consistent sessions beat waiting for long perfect blocks of time.
Can left-handed people use calligraphy pens successfully?
Absolutely. Many experienced calligraphers write beautifully with their left hand, but you may need to experiment more with paper angle and pen choice. Left-oblique holders, quick-drying inks, and underwriter grips all help. Do not force a right-handed setup. Adjust your tools and posture to what feels natural and smudge-free.